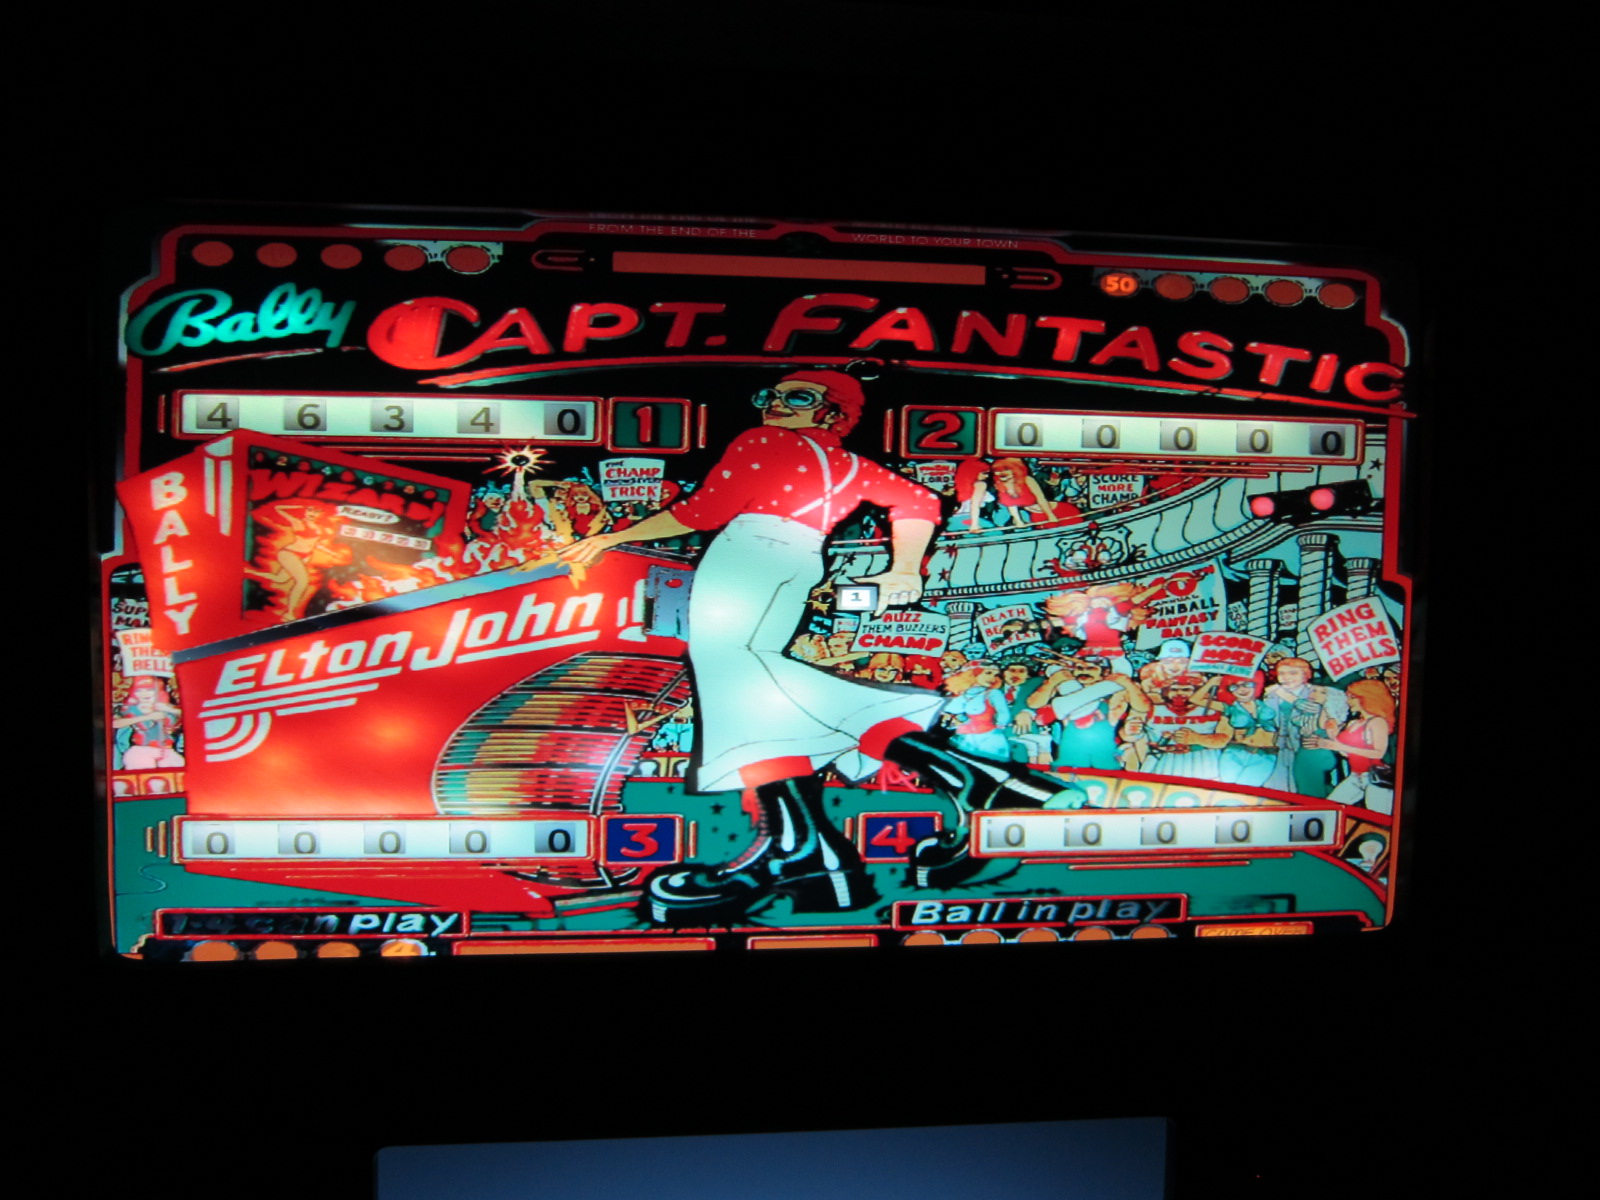
Well, my Virtual Pinball project now starts in earnest. Thanks to a local pin collector Al Warner, I have a bombed out EM pinball cabinet to start with. Apparently, the previous owner (not Al) sprayed WD-40 on the reels or somewhere, and it caught on fire because of the sparks. Notice the crater on the top right side of the playfield. The joker also used plexiglass for the playfield glass...

I also went out to Microcenter and bought the components for a smokin' (pun intended) desktop PC system to run the Visual Pinball, PinMAME, and Hyperpin applications. I was able to get the following components:
AMD Quad-core CPU running at stock 3.4GHz
Gigabyte Model GA-880GA-UD3H
4 GB of DDR3 (Patriot Memory)
500 GB Hard Drive
NVIDIA GTS450 with 1GB DDR5
Got about $40 of instant savings and about $90 of instant rebates. So the PC will come out to around $500. I was able to install Visual Pinball onto my system (thanks Mitch for technical and morale support). Had to tweak and optimize some settings, but I finally got it to run my favorite Southpark very nicely. Also ran Dirty Harry and a few others quite well. Now I need to install a secondary display for the active backglass. Here is a picture of my test bench. I have the Southpark running along with the backglass. Looks really awesome, plays great too.

While surfing the VPinball websites, I found a user's guide for VP:
VP User's Guide 2/27/2011 - Some of my tables like Southpark and Dirty Harry were running pretty good, but most of them were lagging and stuttering pretty badly like Strikes and Spares and some of the older tables. The system I put together has enough horsepower to run the software. Mitch came over so we could debug the software, since he had no trouble getting his tables to run on a slower system. After disabling the active backglass on Strikes and Spares, we were still getting poor performance. I had noticed in the Task Manager Performance tab that when Vpinball was running, it would peg only one of the 4 cores on my CPU. We disabled 3 of the 4 cores on my CPU using the BIOS settings, and that was the magic bullet that made the Vpinball run properly. Now the tables run with no lag or stutter. It was AWESOME!!! Now I can move on to fixing up the cabinet. 3/6/2011 - Got some work done on the cabinet this weekend. I was able to cut out the melted plexiglass using my newly purchased Rotozip.


After taking off the playfield plexiglass, I was able to remove the playfield and sub-assembly as well as all the components, leaving a bare cabinet.


Now to sand the cabinet. Using 60 grit and my trusty old Harbor Freight orbital sander, I put on my foul weather gear and went to work. It was windy and a frigid 55 degrees outside.

I have to sand near the side rails by hand. Also, I used steel wool to polish up the stainless steel.

The coin door gets the same treatment. Lots of elbow grease. I will probably be doing this when my insomnia hits in the middle of the night.

The lockbar mechanism underneath was pretty nasty, had to sand away the rust then spray with grey primer.


One of the legs was bent nicely, so I put on some Anvil Chorus on Youtube and started going at it. Was able to get the leg straightened out. Now just have to sand it down and prime, then paint.

The cabinet is all primed now, it is nice and smooth.

I got brave enough to void the warranty on my new LCDs, so here are the backbox LCDs taken appart with brackets made for mounting onto the 1/2" MDF.


Here is the 37" Vizio LCD TV decased and ready to attach to the bezel.


Took a crapload of work (and cordless drills) to fasion my routing jigs for my backbox bezel.

Here is the bezel with the routed openings


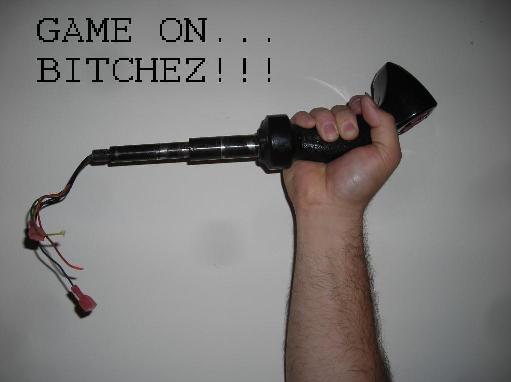
Here is the plunger mechanism. The default key for the plunger is ENTER. The switch will get wired to the keyboard encoder using the normally closed contacts because the plunger is activating the microswitch when it is in home position. When the plunger gets pulled back, it simulates holding the ENTER key down, untill it is released.


OK, I'm done...