Wednesday, September 28, 2011

Wizard of Wor Mini

This thing is RATTY!!!


It was completely empty when I got it from Bryan. Since we all know how flaky the WOW/Gorf boardsets are (and Steve is hoarding them all anyway), I decided to MAME this one so it would boot up into Wizard of Wor.

Here is the finished product being field tested at the Atlanta Pin Swap.

Tuesday, September 20, 2011

Dig Dug vs Windex

Ladies and Gentlemen...

Introducing... DIG DUG!!!

And the Challenger...

WIIIIIIIINNNNNNN...DEX!!!


Monday, July 11, 2011

Virtual Pinball Backbox Display Mounting Made Easy

Starting with a backbox that has a hinged door, we cut out extra holes where the AC plug and the VGA connectors will go.


We remove the hinge and relocate it back about 3 inches or so.


Put a stop block on the other side to keep the swinging door from going in all the way


Steve brought me a 24" LCD and a 14" LCD. We mount each of them on a plank that will get screwed onto the swinging door that we just recessed.


The threads on these monitor mounting holes were metric M4 -.7


Position the monitors, then screw mounting brackets onto the swinging door.


No need for de-casing the displays. They both fit neatly in the backbox.
Now all we need is to cut a bezel from 1/2" MDF and route some proper-sized
rectangular holes for the displays.

Sunday, July 10, 2011

More Virtual Pinball pictures

OK, here is the Rawhide Virtual Pinball cabinet, finally ready to play.

Legs are not attached, it is still on the dolly so I can move it around in my limited shop space.


Tuesday, July 5, 2011

RAWHIDE Virtual Pinball General Debugging

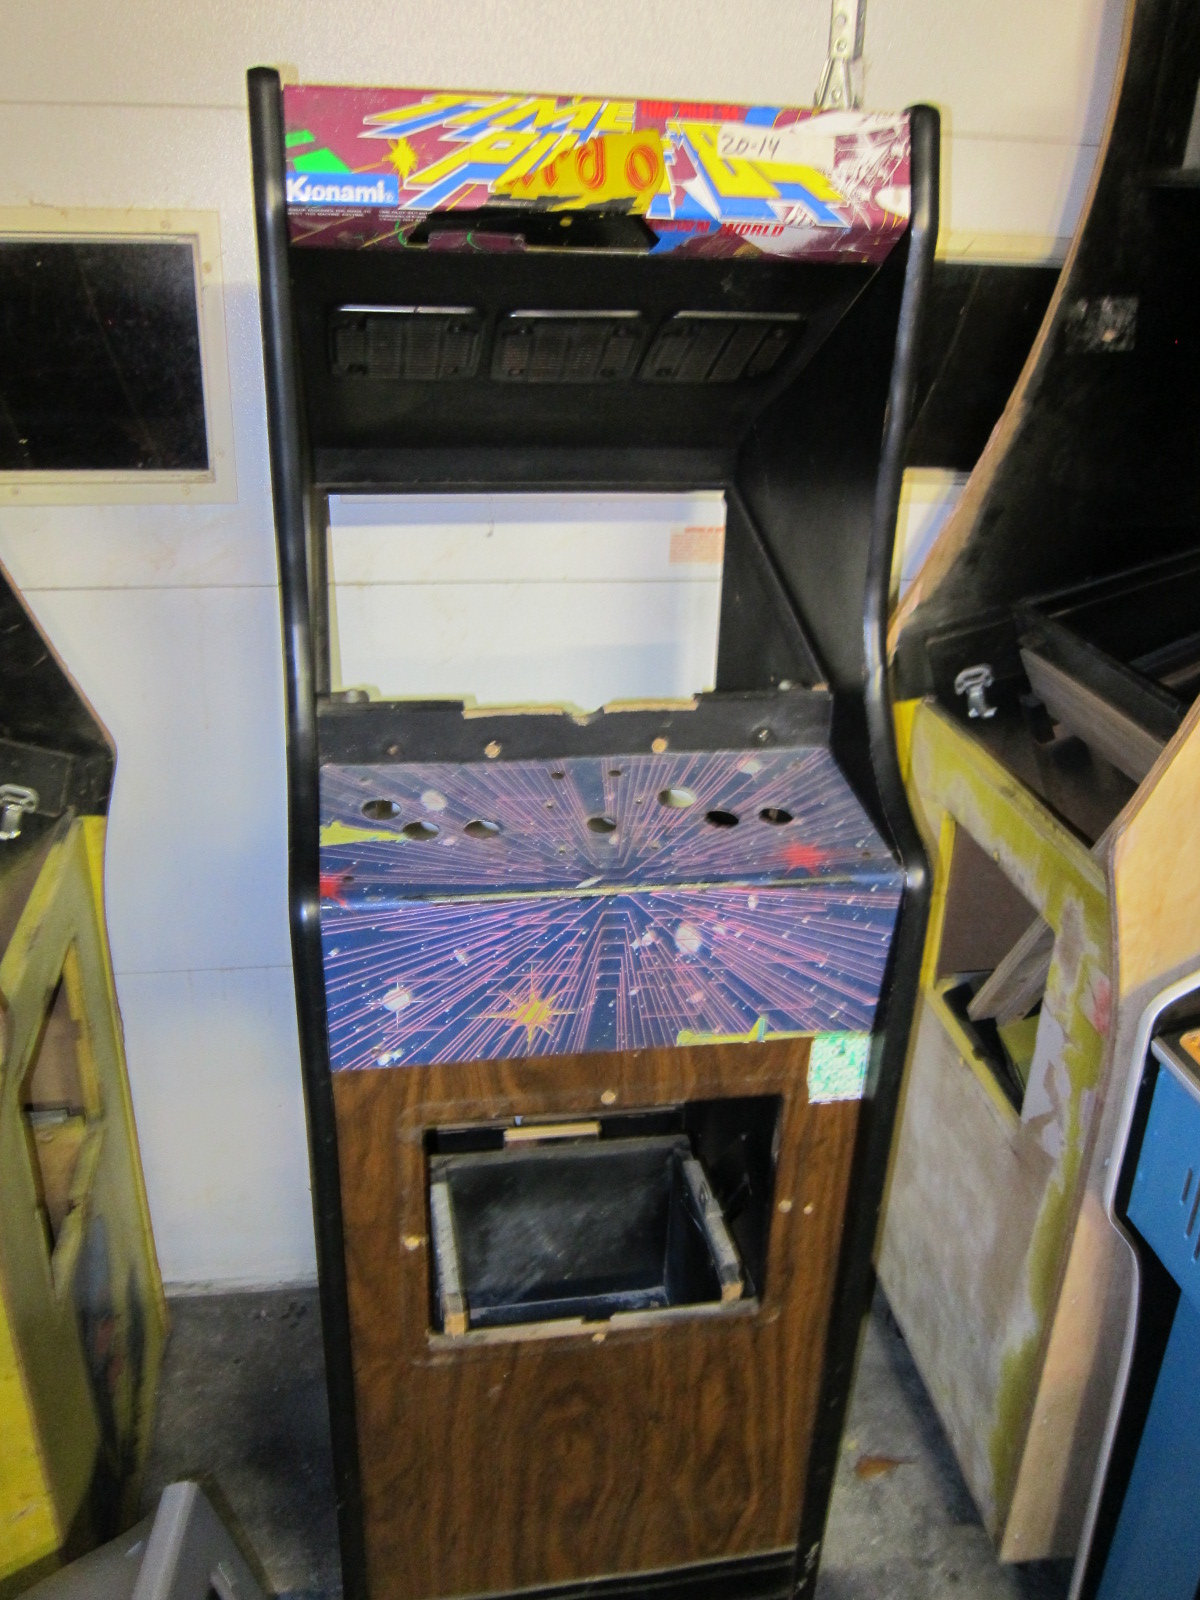
Each Virtual Pinball cabinet presents its own set of challenges. This Rawhide is no exception. Here are some of the issues I have had to deal with in the building process:

EVGA GeForce 210
This video card would not hold its settings for dual display. Every time I rebooted, I had to physically swap the display connectors at the card to get the playfield and backbox to display. I returned that card and got a different one...

ASUS 210 Silent
This video card worked fine for configuring dual display, but when I assembled the cabinet and started configuring tables, the DMD would freeze or go blank when I dragged it from the playfield to the backglass display. Tried all kinds of tweaks and settings, but nothing worked. I returned that card and eventually got an EVGA GTS450, which is what I have in my first Hyperpin, and it worked fine for dual display.

Proview 32" monitor
This monitor does not power up when AC is restored to it, and the ON/OFF is out of reach when the display is mounted in the cabinet. I had to rig a lever to physically hit the power button. Primitive solution, but it works, and saved me from having to disassemble the button panel.

Ball movement shuddery... this I discovered was because the displays were connected to the wrong ports. I swapped the displays and now the ball movement is smooth like it should be.

Flippers and Plunger not behaving properly.
I am using a Keywiz (which has a PS/2 interface), and the PC is a Dell GX280 that doesn't have PS/2 ports, so I am having to use a PS/2 to USB Y-adapter. This does weird things to the keystrokes. The plunger, when pulled, will misfire (or release prematurely). The flippers will not hold when I keep the button pressed. It will release, then if I keep the button held down, it will stay up, but this is not really acceptable. I ordered a PCI card with PS/2 interfaces today, and hopefully that will solve the problem.

Saturday, July 2, 2011

RAWHIDE Virtual Pinball Display switch

The Proview 32" display will not turn on automatically when AC power is restored to it, so I had to rig up a lever to hit the ON/OFF button on the bottom of the display.

Just used a latch with a metal strip epoxied to it. I also epoxied a bolt head to the end of the strip where it hits the button.


Just a little push of the lever, and the display turns ON.

RAWHIDE Virtual Pinball... making progress...

Almost done with this one.

The bezel was put together from 4 pieces of MDF. This technique is easier than trying to route the opening from one big piece of MDF. I know, I tried it that way...


Just needs the glass and legs now. Also need to tweak all the tables.

Sunday, June 19, 2011

Backbox on Rawhide Virtual Pinball

Got the backbox bezel done. I used some of the base-board molding that was left over from the renovations.


The bezel looks really white... I may do an antiqueing on it to make it match the cabinet a little better.

Plunger unit rebuild on Stern Rawhide Virtual Pinball

Got the plunger unit rebuilt. The end was broken anyway so I cut the shaft shorter and made a new slot for the c-clip by chucking the shaft in the drill press and using a hack saw to cut the slot.


I used a right angle bracket and some tiny nuts and bolts to mount the microswitch.


Millipecle

Got the Millipede Multicade done. The cabinet is nice.


The control panel came out amazing.


Saturday, June 11, 2011

RAWHIDE Virtual Pinball

OK, here is the second Virtual Pinball Project. It is a Stern Rawhide that I got from Mitch. The original stenciled artwork was in really good condition, so I decided to save it. It just needed some cleaning up.


This cabinet will have a 32" Playfield display, and a 23" Backbox display.

I got an Acer 23" LCD from Microcenter. It mounted nicely in the backbox using a 2x4, and some aluminum brackets for the mounting holes. The bezel is made from 1/2" MDF using.


The playfield monitor is a 32" Proview I got at the Hallmark store next to my work. Heavy SOB!!! I attached a couple of 2x4s in the to rest it in the cabinet.